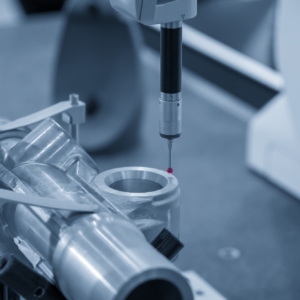
Measurements in Silhouette
DESIGNED BY: Young Solutions Inc.
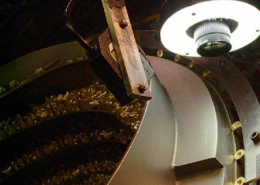
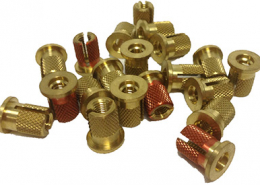
Measuring parts is a very common type of inspection. It can be done without contact, and at high speeds. We frequently measure in the range of ten millionths of an inch but the accuracy and precision of such activities is virtually unlimited. Successful machine vision results are essentially a function of matching the hardware, software, and optics with the constraints generated by the machine vision inspection.
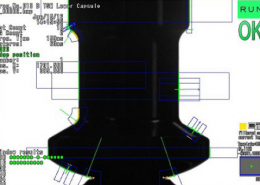
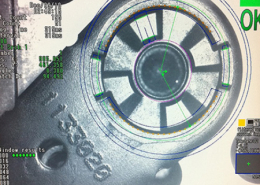
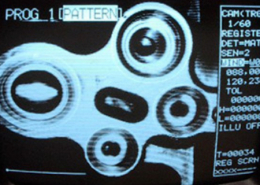
High Precision Measurements in Machine Vision Today the accuracy and precision on vision systems seems virtually unlimited. This particular example provided the following results with little effort.
- Measurement Precision and Accuracy to .000010”
- 30 Measurements and 12 calculated outputs in a cycle time of less than 67 milliseconds
- 45 Separate Programs for Different Parts
Today it’s possible to measure some parts in as little as 4 milliseconds.


