Surface Wear Measurement “Profilometer”
DESIGNED BY: Young Solutions Inc.
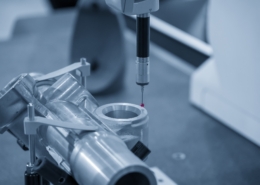
Manufactures use many types of gages to measure wear in the bores of a variety of part types. They all provide a numeric value as feedback for the location on the bore being measured. Some gage will have a bar graph to provide visual feedback to the operator as they move a gage around the bore. This is somewhat better than numbers alone as an operator can watch the bar graph go up and down as the measurements change and it get a better feel as to what is happening while the gage is moved around. However, this method still only records one reading at a time and it would be very difficult to always measure the same point or get a true sense of what is occurring because you are recording single points.
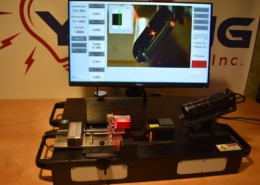
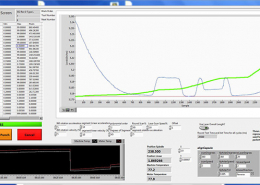
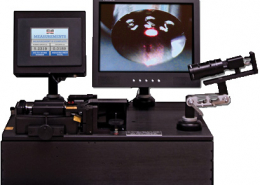
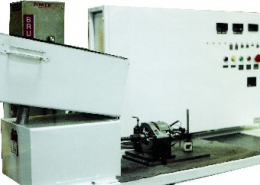
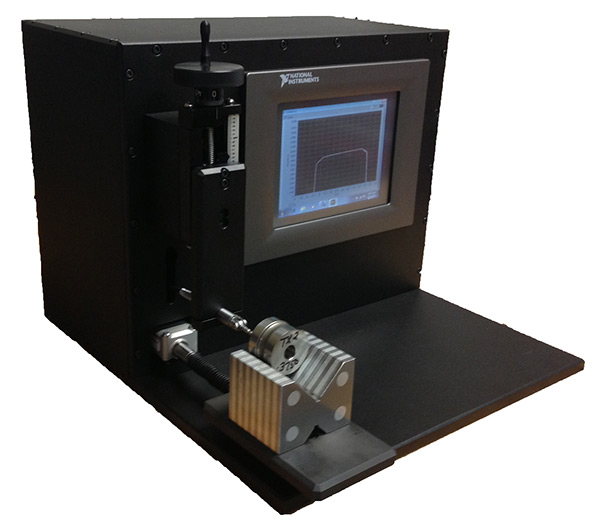
Young Solution’s machine takes hundreds of measurements and draws a profile of the surface along the axis of the bore providing a picture which can show the wear patterns develop over time. Because the wear areas in these profiles are apparent, they can be measured much more confidently
Features/Advantages
- Displays a profile of the wear.
- Measures wear height from any two points defined by the operator
- Zoom Function, allows operators to magnify areas of interest
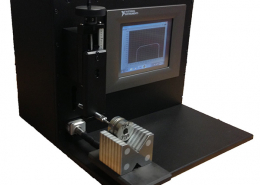
- Works as a stand-alone unit, or it can be put on a network via Ethernet.
- Each saved profile has a time stamped screenshot (jpeg format) showing the results and the machine settings.
- Each saved profile has a time stamped file with all the data points. These can be imported into excel or custom programs. This allows for unlimited advanced analysis of the data.
- Two USB ports and one Ethernet port
- Touchscreen or mouse control
- Power Requirements 85-264 VAC (47-63 Hz) 60 watts
- Size 13” wide x 14” deep x 11” Tall
- Measure Bores 1.5” deep in one pass
- Pass/Fail Indication according to specification for the bore
